
What is on this page?
Creating a New Link
Making Edits to Links
Deleting Links
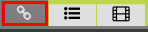
Navigation:
Link Tab – allows you to make edits to existing links, as well as creating new links.

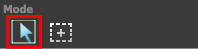
Modes:
Select Tool – use to select and already created links.
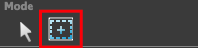
Create Link tool – use to create a new link.
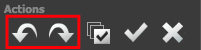
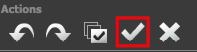
Actions:
Undo/Redo – undo or redo an edit.
Check Link Validation – check all of the currently placed links for any errors or loading issues.
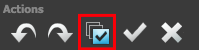
Validate a link/multiple links – use this option to validate a link.
NOTES:
- URL validation only checks that the URL you specified exists and does not return an error.
- Many URLs require the presence of “www” to function properly.
- Some valid web URLs will return errors, e.g. if a server is down or the content won’t be live until the issue’s publication date. You can ignore such errors.
- Email addresses and page links are not validated.
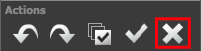
Delete – use the X icon to delete a link.
Creating a New Link
1. Select the PAGE EDITOR button for the Document you would like to make edits to.
2. The Page Editor will default on the Links tab upon entry.

3. Navigate to the page where you would like to add your link using the page dropdown option or left/right arrows on the top navigation bar.

4. Select the Create Link tool.

5. Draw a box around the area of the page you would like linked. Once created, the Edit Link Properties will appear on the right hand side of the screen.
6. Edit the properties of the new link.
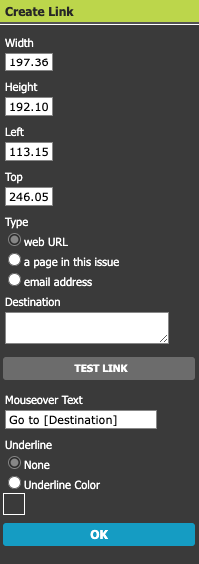
- Width, Height, Left and Top can all be set in the property fields OR you can drag the sides/corners of the hotspot you created to resize.
- Type – choose the type of link you are creating (web URL, a page in the document or an email address).
- Destination – type or choose your destination (URL, email address or page from the dropdown).
NOTE: The ‘TEST LINK’ button will be available for the Web URL option, you may use it to be sure the URL is correct. - Mouseover Text – “Go to [Destination]” is the standard/default mouseover text which will use the specified destination in the final product. For example, if you choose to link to a web URL and input https://www.gtxcel.com/ into the Destination field, the resulting mouseover text will be “Go to https://www.gtxcel.com.” You also have the option to customize the mouseover text by deleting the default and typing in the desired text.
- Underline – this option defaults to none but you have the choice to add an underline to your link and select a color.
7. Click ok to save your new link.
Making Edits to Links
1. Select the PAGE EDITOR button for the Document you would like to make edits to.
2. The Page Editor will default on the Links tab upon entry.

3. Select the link that needs editing.
There are 2 ways to approach selecting a single link to make changes:
- Review the list of existing links on the left-hand pane. Clicking on a link in the link list will take you to the page where the link is located, highlight it, and activate the properties editor for that link.
- Navigate to the desired page using the page arrows or pull-down menu, then select the dotted outline of the link you wish to modify.
4. Edit the properties of the new link.
- Width, Height, Left and Top can all be set in the property fields OR you can drag the sides/corners of the hotspot you created to resize.
- Type – choose the type of link you are creating (web URL, a page in the document or an email address).
- Destination – type or choose your destination (URL, email address or page from the dropdown).
NOTE: The ‘TEST LINK’ button will be available for the Web URL option, you may use it to be sure the URL is correct. - Mouseover Text – “Go to [Destination]” is the standard/default mouseover text which will use the specified destination in the final product. For example, if you choose to link to a web URL and input https://www.gtxcel.com/ into the Destination field, the resulting mouseover text will be “Go to https://www.gtxcel.com.” You also have the option to customize the mouseover text by deleting the default and typing in the desired text.
- Underline – this option defaults to none but you have the choice to add an underline to your link and select a color.
5. Click ok to save your link edits.
Deleting Links
1. Select the PAGE EDITOR button for the Document you would like to make edits to.
2. The Page Editor will default on the Links tab upon entry.
3. Select the link that needs editing.
There are 2 ways to approach selecting a single link to make changes:
- Review the list of existing links on the left-hand pane. Clicking on a link in the link list will take you to the page where the link is located, highlight it, and activate the properties editor for that link.
- Navigate to the desired page using the page arrows or pull-down menu, then select the dotted outline of the link you wish to modify.
4. Click on the X in the Actions menu.

 Contact Support